

AudioEditor enables you to easily create podcasts, audio mixes, and other audio products. When you open AudioEditor, you will find a timeline with audio tracks in the middle and a content menu with hundreds of audio built-in clips to the right.
The content menu
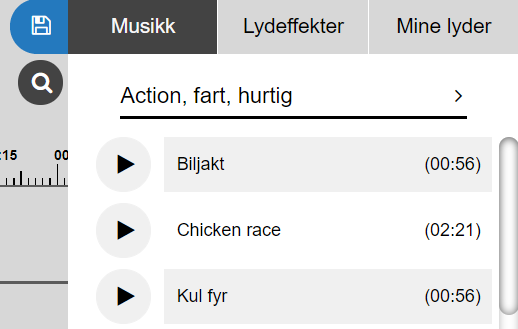
At the top of the content menu, you will find three main categories: Music, Sound effects, and My audio. These categories also contain different subcategories. Music is split into different genres, eras, and geographical areas, while Sound effects consists of categories such as nature, people, and animals. Under My audio, you will find both your uploaded audio files and your recordings. You can also search for specific audio clips by clicking on the magnifying glass and then typing into the search field. All the audio clips in the content menu have a play icon to their left. Clicking on it allows you to preview and listen to the clip. To add a clip to the timeline, simply click on it or drag and drop it on one of the tracks.
The timeline
The timeline contains six dfferent audio tracks. This is where the actual editing takes place.
Editing audio clips

After having placed a clip on the timeline, you can start editing it. You can drag the clip to place it wherever you want on whichever track you want. If you click on a clip on the timeline, arrows will appear at the beginning and end of it. Clicking and dragging on these allow you to adjust its duration and trim the in and out point. You can also split a selected clip in two by placing the playhead somewhere on the timeline before clicking on the scissors. To adjust the volume on a selected clip, click on the black line at the top of it. This will prompt a white point/circle to appear. Drag the point up or down to adjust the audio. You can add as many of these points as you like.
In the bottom left corner, there is a plus and a minus button, which enables you to zoom in and out on the timeline. Below the bottom track, you will also find an arrow on either end. Clicking on it enables you to hide the content menus and see more of your timeline. Click on the arrow again and the content menu will reappear.
Editing audio tracks
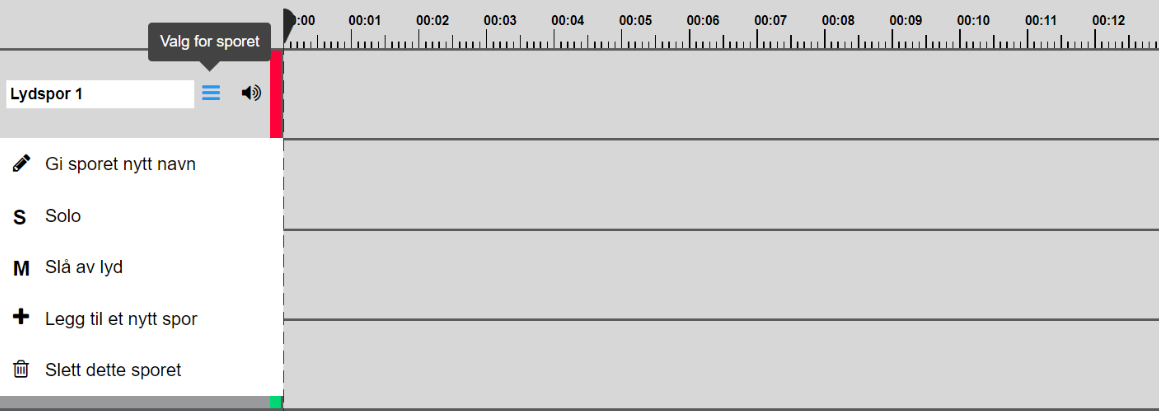
To the left of the timeline, each track has several buttons and possibilities. The volume icon lets you adjust the volume for all the clips on the selected track. Clicking on the three lines, gives you the following options:
- Rename this track: Choose another title for the selected track
- Solo: The audio will be muted for all the other tracks
- Mute: The audio will be muted for the selected track
- Add another track: An extra audio track will be added
- Delete this track: Removes the selected track and all its audio clips
Recording audio
To record audio, click on the red microphone icon to enable recording and once more to start recording. When you are done, click again to stop and save. The recording will be added where the playhead is placed on track 1. You can now trim, split, move, and adjust the recording. All recordings will automatically be saved to your Creaza account. They can be found under Recordings under My audio for future use.
The top menu

On the left side of the top menu, you will find a timecode, which indicates where on the timeline the playhead is placed. To the right of the timecode, there are three buttons, one to take you to the start of the timeline, one to play/pause the product, and one to take you to the end of the timeline. Next are buttons to undo/redo your latest changes, followed by a delete button. The latter is used to remove a clip from the timeline. You may also use the Delete or Backspace buttons on your keyboard.
Playing your product
Once you are done editing your product, click on the blue save icon in the top right corner and then Save. The product can then be found under My Content. Clicking on More below the product allows you to view/play it. If you wish to download the finished product to your device, you must first click the Export button. Once the export is done, you can download the product as an MP3 file by clicking on Download.